HTTP Session Management Quick Start
In this section you download, install, and set up the HTTP Session Management modules.
Following the Apache Tomcat convention, this page assumes the CATALINA_HOME environment variable is set to the root directory of the “binary” Tomcat distribution.
For example, if Apache Tomcat is installed in /usr/bin/apache-tomcat-9.0.50 then
CATALINA_HOME=/usr/bin/apache-tomcat-9.0.50
Quick Start Instructions
Download and install one of the application servers.
Supported Application Server Version Download Location tc Server 3.2 https://network.pivotal.io/products/pivotal-tcserver Tomcat 8.5 Tomcat 8 Software Downloads Tomcat 9.0 Tomcat 9 Software Downloads The generic HTTP Session Management Module for AppServers is implemented as a servlet filter and should work on any application server platform that supports the Java Servlet 3.1 specification.
The HTTP Session Management Modules installation .zip files are located in the
tools/Modulesdirectory of the product installation directory. Locate the .zip file for the HTTP Session Management Module that you wish to install. Unzip the appropriate HTTP Session Management Module into the specified directory for your application server:Supported Application Server Version Module Target Location for Module tc Server 2.9 Apache_Geode_Modules-SERVER-VERSION-tcServer.zip <tc Server root dir>/templatestc Server 3.2 Apache_Geode_Modules-SERVER-VERSION-tcServer30.zip <tc Server root dir>/templatesTomcat 8.5, 9.0 Apache_Geode_Modules-SERVER-VERSION-Tomcat.zip $CATALINA_HOMEComplete the appropriate set up instructions for your application server described in the following sections:
Additional Quick Start Instructions for tc Server Module
These steps provide a basic starting point for using the tc Server module. For more configuration options, see HTTP Session Management Module for Pivotal tc Server. As a prerequisite, module set up requires a JAVA_HOME environment variable set to the java installation.
- Navigate to the root directory of tc Server.
Create a Geode instance using one of the provided templates and start the instance after starting up a locator. For example:
$ gfsh start locator --name=locator1
$ ./tcruntime-instance.sh create my_instance_name --template geode-p2p
$ ./tcruntime-ctl.sh my_instance_name start
This will create and run a Geode instance using the peer-to-peer topology and default configuration values. Another Geode instance on another system can be created and started in the same way.
If you need to pin your tc Server instance to a specific tc Server runtime version, use the
--versionoption when creating the instance.
Additional Quick Start Instructions for Tomcat Module
These steps provide a basic starting point for using the Tomcat module. For more configuration options, see HTTP Session Management Module for Tomcat.
Modify Tomcat’s
server.xmlandcontext.xmlfiles. Configuration is slightly different depending on the topology you are setting up and the version of Tomcat you are using.For example, in a peer-to-peer configuration using Tomcat 9, you would add the following entry within the
<server>element of server.xml:<Listener className="org.apache.geode.modules.session.catalina.PeerToPeerCacheLifecycleListener" locator="localhost[10334]" />and the following entry within the
<context>tag in the context.xml file:<Manager className="org.apache.geode.modules.session.catalina.Tomcat9DeltaSessionManager"/>See Setting Up the HTTP Module for Tomcat for additional instructions.
Start the Tomcat application server.
$CATALINA_HOME/bin/startup.shConfirm that Tomcat is running by opening a browser and navigating to
localhost:8080. If you see the Tomcat home page, your installation was successful.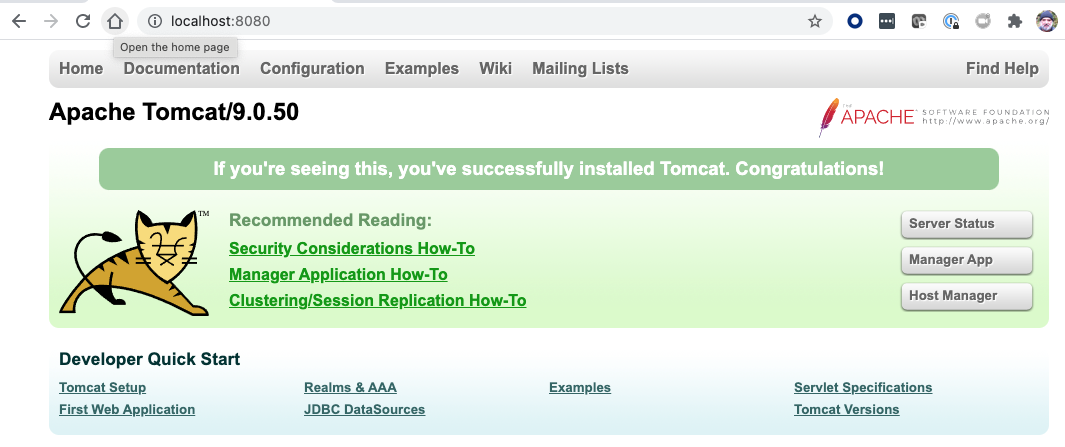
Additional Instructions for AppServers Module
These steps provide a basic starting point for using the AppServers module with WebLogic, WebSphere or JBoss. For more configuration options, see HTTP Session Management Module for AppServers.
Note:
- The
modify_warscript relies upon a GEODE environment variable. Set the GEODE environment variable to the Geode product directory; this is the parent directory ofbin. - The
modify_warscript, described below, relies on files within the distribution tree and should not be run outside of a complete distribution. - The
modify_warscript is abashscript and does not run on Windows.
To set up the AppServers module, perform the following steps:
Run the
modify_warscript against an existing.waror.earfile to integrate the necessary components. The example below will create a configuration suitable for a peer-to-peer Geode system, placing the necessary libraries intoWEB-INF/libfor wars andlibfor ears and modifying anyweb.xmlfiles:$ bin/modify_war -w my-app.war -p gemfire.property.locators=localhost[10334] \ -t peer-to-peerA new war file will be created called
session-my-app.war. This file can now be deployed to the server.